REVIEW · BALI
Bali: Seminyak Jewelry Making Class with Gold Plating Option
Book on GetYourGuide →Operated by Big Tree Jewelry Classes · Bookable on GetYourGuide
A jewelry class in Bali with real tools? Yes. In Seminyak, you work with a professional silversmith inside an air-conditioned studio, shaping pure silver using jeweler’s saws, grinding wheels, and files. I like that you start with 1–6 grams of pure silver to create the piece you design, and I like the option to add a gold-plated finish for extra polish on your souvenir. The main drawback to plan for is timing: it’s listed as 2 hours, but you may spend a bit longer on-site depending on how the session flows.
Expect a comfortable, photo-friendly workshop with a small group cap (up to 20). You’ll get a welcome drink, free WiFi to share your progress, and patient guidance from instructors whose names often show up like Erick, Sudi, Arsa, Intaran, and Surya. Bring camera and comfy clothes, because you’ll be hands-on with metal and tools.
In This Review
- Key highlights I’d circle on your Bali plan
- Seminyak’s air-conditioned jewelry studio: where the work actually happens
- What you make: pure silver, your design, and hands-on control
- How the jewelry-making process feels step-by-step
- 1) Plan your look, then start forming the metal
- 2) Stamp and hammer for character
- 3) Saw, grind, and file to refine the details
- 4) Polishing and finishing
- Gold plating option: when the extra charge is worth it
- Value check: $46 for two hours of real metal skills
- Who this class suits best in Bali
- Practical tips so your ring looks good
- What to bring
- How to get better results fast
- Photos and sharing
- Bottom line: should you book this Seminyak jewelry class?
- FAQ
- How long is the jewelry making class in Seminyak?
- What does the price include?
- Can I add gold plating to the jewelry?
- How much pure silver will I use?
- Is the studio air-conditioned?
- What language are the instructors?
- What should I bring?
- Is hotel transfer included?
Key highlights I’d circle on your Bali plan
- Professional guidance throughout as you stamp, hammer, saw, and shape
- Pure silver set by choice (1–6 grams) so your piece can be lighter or more substantial
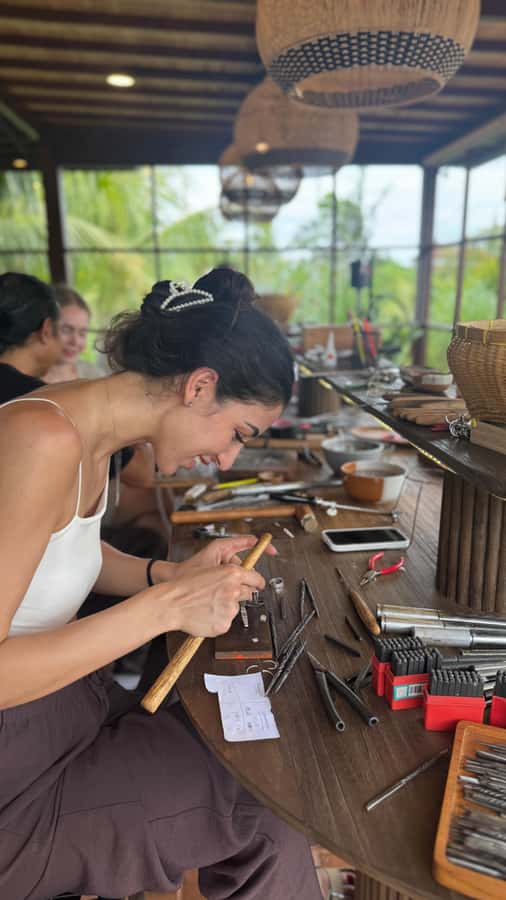
- Real jeweler tools, not just crafting supplies
- Optional gold-plated finish if you want extra shine
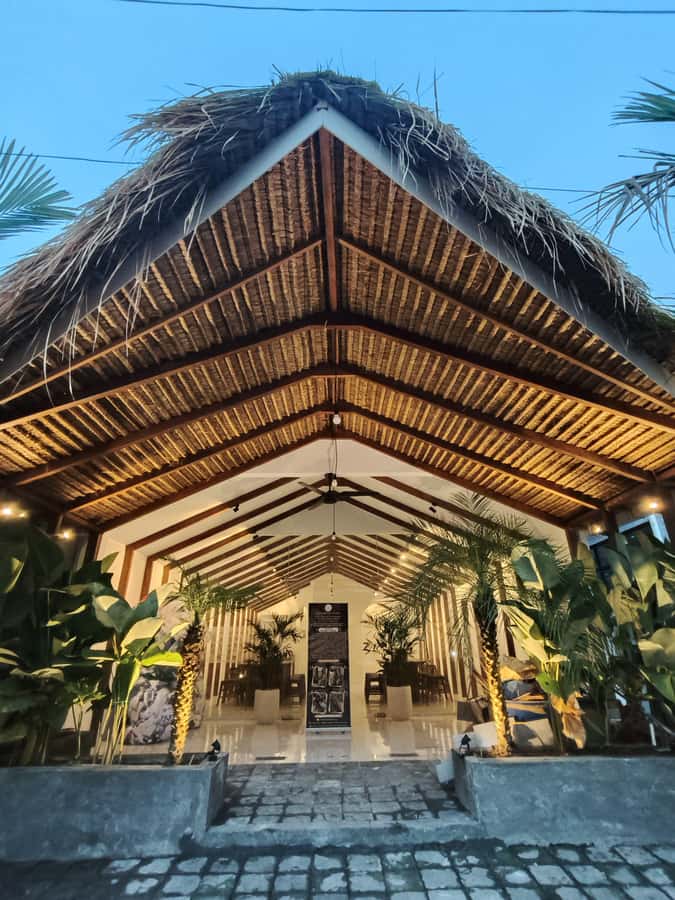
- Air-conditioned studio comfort plus a small group size (up to 20)
Seminyak’s air-conditioned jewelry studio: where the work actually happens
This class is built around the part most Bali souvenirs skip: you physically make the jewelry. The workshop is in Seminyak, and it’s fully air-conditioned, which matters because your hands will be doing details for the full session. You’re not baking in humid heat while someone tells you how to do things on a screen.
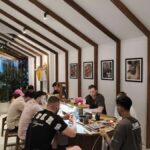
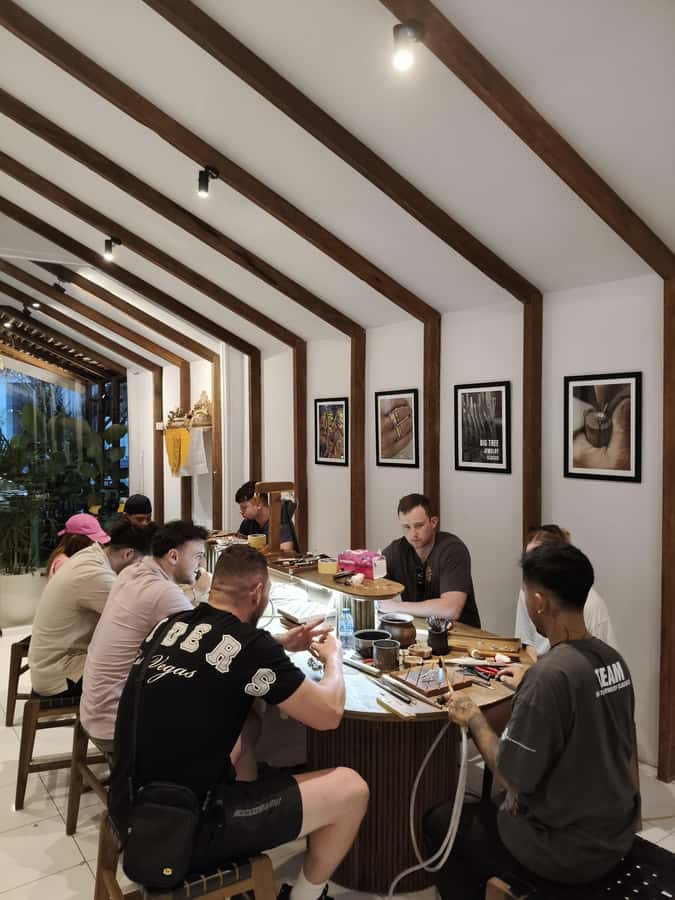
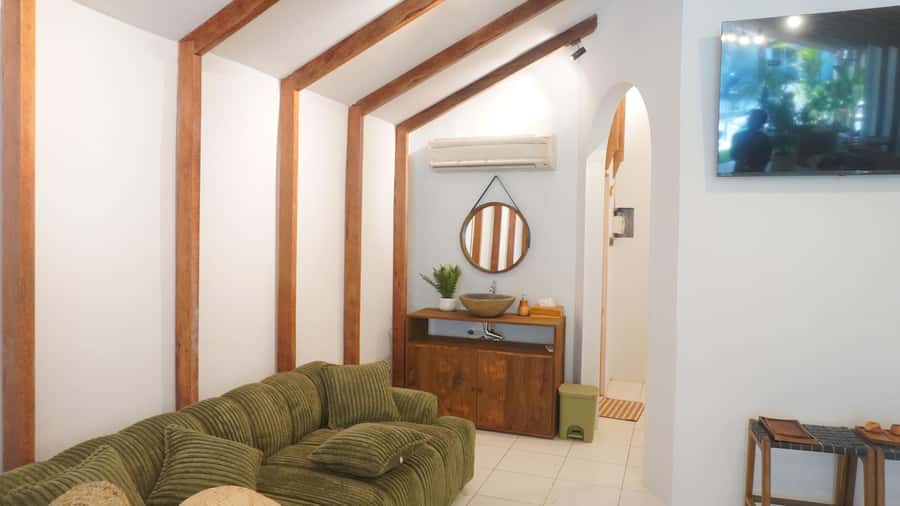
Inside, the studio has a creative, styled look that’s made for photos, with decor that doesn’t feel like a back-of-house workshop. And because the group is capped at 20 people max, you’re more likely to get direct help when you need it instead of waiting for attention.
You’ll also start with a welcome drink, and you get free WiFi so you can post during breaks or immediately after. That little touch is handy in Bali, where it’s easy to forget to document the good bits until you’re back on your hotel WiFi.
You can also read our reviews of more tours and experiences in Bali.



What you make: pure silver, your design, and hands-on control
The core promise here is simple: you design and create a silver jewelry piece using 1–6 grams of pure silver (for one jewelry design). That means you’re not just assembling a pre-made item. You choose the style you want, then you create it using jewelry-making steps like stamping, hammering, and shaping.
In practice, this is what you should expect:
- An instructor helps you set up the design approach
- You work through key stages yourself, with help when you hit a tricky moment
- Your piece goes through polishing work at the end
The classes are described as great for beginners and also for people with some experience, and that matches what you’re aiming for. If you’re totally new, guidance keeps you from doing something irreversible wrong. If you’ve made crafts before, you’ll still appreciate the structure and the hands-on tool time.
One of the most valuable parts is that you’re not boxed into one outcome. You can bring your own idea, and the instructors tend to treat the design as something you’re building, not just copying.
How the jewelry-making process feels step-by-step
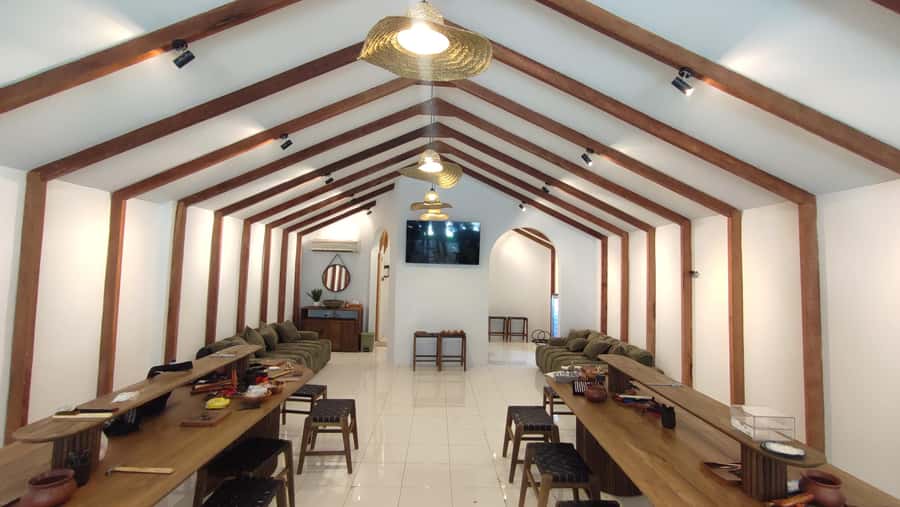
You only have a couple of hours, so the class moves through the essentials without dragging. The techniques listed for the workshop are stamping, hammering, and shaping, then tool work with grinding, cutting, and filing.
Here’s the way to think about the flow:
1) Plan your look, then start forming the metal
You’ll begin by choosing a design and getting oriented. This is where the instructor’s role matters most. Good jewelry-making guidance isn’t about taking over. It’s about helping you understand why each step exists, so you can make small adjustments that improve the final shape.
2) Stamp and hammer for character
Stamping and hammering aren’t just decorative actions. They’re how you create structure and texture. When you do this yourself, you’ll understand how a tiny change affects thickness and edges. That’s also why it’s such a satisfying souvenir: it’s not generic.






3) Saw, grind, and file to refine the details
This is where the class goes from craft-table to real metals work. You use professional tools such as:
- Jeweler’s saws
- Grinding wheels
- Files
If you’ve never used tools like these, you’ll be surprised how learnable they are with a patient instructor beside you. You don’t need to be an engineer; you just need to follow the steps and take your time with the fine parts.
4) Polishing and finishing
Once your piece is complete, it receives professional polishing. That’s important because your hands will get the main shaping done, but the final look benefits from finishing that’s practiced every day.
Many people like the balance here: you’re actively working, but you’re not stuck doing the last 10 percent with no training.
Gold plating option: when the extra charge is worth it
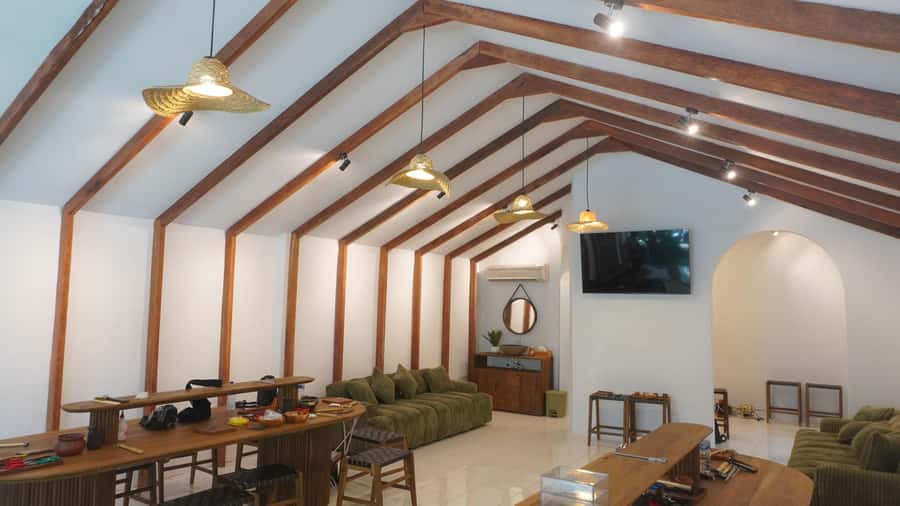
The class includes a silver piece you make yourself, and then it offers an optional gold finish with an additional charge. If you choose it, the workshop professionally polishes your piece and then provides gold plating for a refined look.
So when is the gold option a good idea?
- If you want a gift that looks more “jewelry-store finished” and less handmade
- If you plan to wear it often and want that warm tone to stand out against Bali’s sun and outfits
- If you’re making a keepsake where presentation matters as much as the craft story
One practical consideration: gold plating is extra work on top of your session. Even if you’re still in the workshop timeline, you should treat plating as part of the finishing stage, not a quick add-on you can ignore. The upside is that you’ll end with a piece that feels more elevated and special.
Value check: $46 for two hours of real metal skills
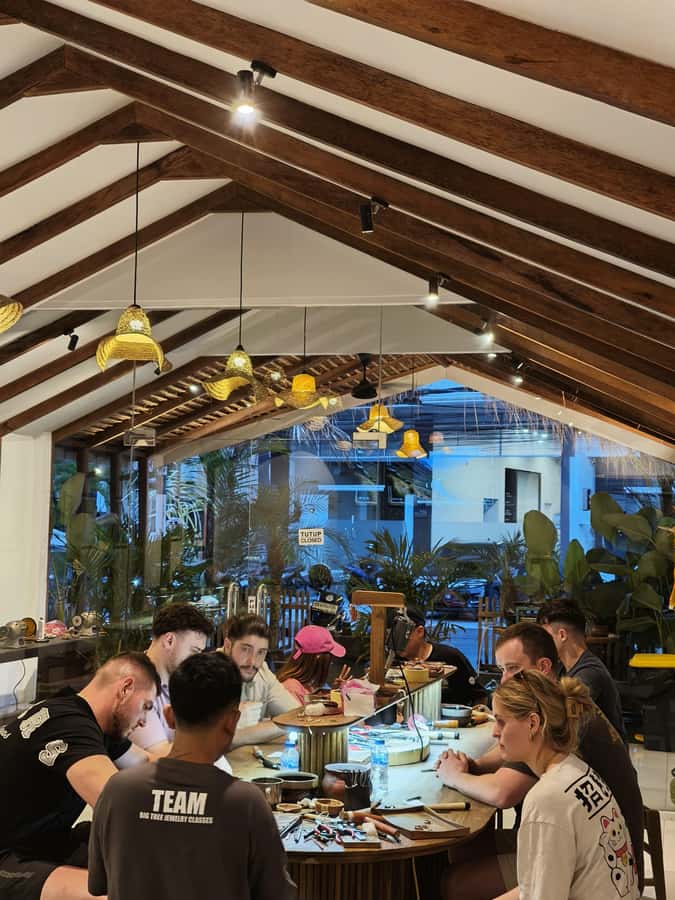
At $46 per person for a 2-hour class, you’re paying for more than entertainment. You’re paying for:
- A professional silversmith guiding you
- Access to professional jewelry tools
- A set amount of pure silver (1–6 grams)
- Air-conditioned comfort, a welcome drink, and free WiFi
A lot of Bali activities cost more and give you a result that looks like you bought it in a shop. Here, your piece is made in front of you, and you use the tools that shape metal. That difference changes the value.
Also, the class size helps. Up to 20 people means you’re more likely to get questions answered and corrections made while you’re working, not after.
One drawback to keep in mind: while the class is listed as 2 hours, some sessions may run longer on-site depending on group timing. If you have a tight dinner reservation, build in a buffer.
Who this class suits best in Bali
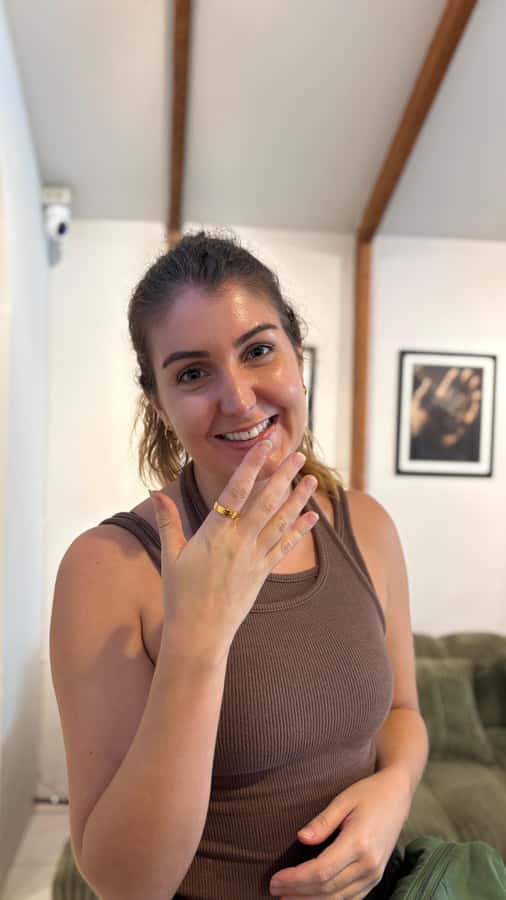
This is a strong fit if you:
- Want a hands-on souvenir you’ll actually keep
- Like making things with your hands more than just watching a demonstration
- Travel as a solo visitor, couple, or small group and want something that feels personal
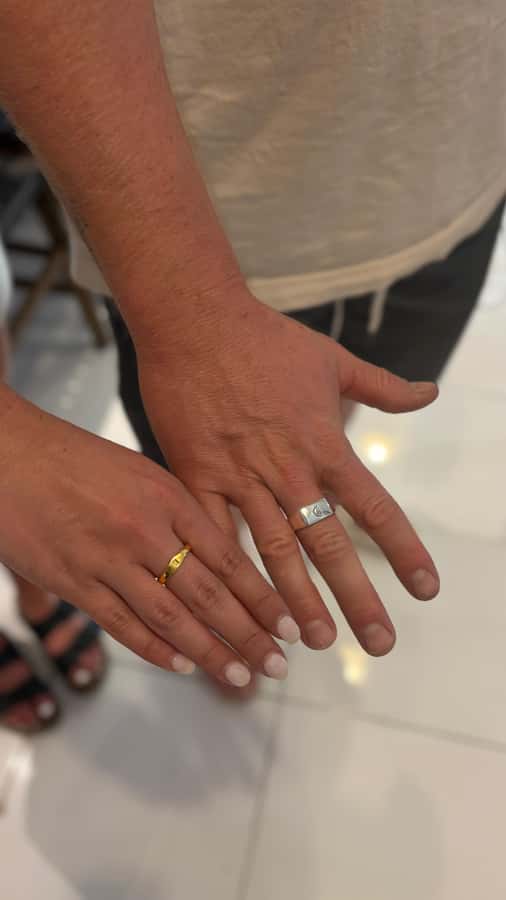
It’s also a good choice for families, since instructors are described as patient and gentle with kids in the workshop environment. And if you’re coming with a friend and want matching pieces, the guided process makes it easier than you’d think.
On the flip side, if you need a highly structured “see everything, then leave” schedule, you might find the pacing a little more flexible than strict tours. This class is about doing the work, not hitting a checklist of photo stops.
Practical tips so your ring looks good
You don’t need special skills, but you can make the outcome better with a few simple choices.
What to bring
- A camera (or just your phone, but bring it)
- Comfortable clothes you don’t mind getting a little craft-dust on
How to get better results fast
- Pick your design early. The more you’ve decided, the more time you spend actually making.
- Choose the silver amount thoughtfully. More grams generally means a more substantial feel, while a lighter option can be more delicate.
- Ask questions as you go. The best results come when you adjust mid-process, not when you realize something at the polishing stage.
Photos and sharing
Thanks to free WiFi, you can share as you work. And since the studio is designed with photos in mind, you’ll usually find good angles inside the air-conditioned space.
Bottom line: should you book this Seminyak jewelry class?
Yes, I think you should book it if you want a Bali keepsake with a real story attached. The price makes sense for what you get: guided professional tool time, a set amount of pure silver for your design, and the option to finish with gold plating.
If you’re short on time or you have zero flexibility, plan for a little extra on-site time beyond the listed window. But if you can give it your full attention for a couple of hours, this is exactly the kind of activity that turns travel memories into something you can wear.
If you want, tell me your travel dates and whether you’re leaning silver-only or gold-plated, and I’ll help you decide what silver amount and finish style tends to work best for the look you want.
FAQ
How long is the jewelry making class in Seminyak?
The class duration is 2 hours.
What does the price include?
It includes professional silversmith guidance, 1–6 grams of pure silver for one jewelry design, professional jewelry making tools, an air-conditioned studio environment, a welcome drink, and free WiFi access. Gold plating is optional.
Can I add gold plating to the jewelry?
Yes. Gold plating is available for an additional charge.
How much pure silver will I use?
You can use 1–6 grams of pure silver for one jewelry design.
Is the studio air-conditioned?
Yes, the studio is air-conditioned.
What language are the instructors?
Instructors provide English and Indonesian.
What should I bring?
Bring a camera and comfortable clothes.
Is hotel transfer included?
No, hotel transfer is not included.