REVIEW · BALI
Ubud: 2-Hour Make Your Own Silver Jewellery Class
Book on GetYourGuide →Operated by Bali Silver Class · Bookable on GetYourGuide
Silversmith work in Ubud is oddly satisfying. You melt and shape your own silver with a real silversmith, then leave with a take-home piece. I like that it is hands-on from start to finish, and I also like the variety of designs you can choose from. One thing to consider: the instruction may involve English that can be a bit hard to catch, so watch closely and ask questions if something feels unclear.
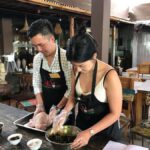
If you want a Bali souvenir that feels personal, this hits the mark. You’re not just watching craft magic happen behind glass. You’re doing the steps—melting, forging, grinding, and finishing—so the result feels like something you earned, not something you bought.
In This Review
- Key things I’d circle before you go
- Why Ubud Silver-Crafting Is a Different Bali Souvenir
- Getting to Krisna Yuna Gallery (Opposite Bali Zoo)
- Pick Your Design from the Gallery Catalog (Then Make It Yours)
- The 2-Hour Craft Flow: Melting, Forging, Brazing, Polishing
- Step 1: Tool and material orientation
- Step 2: Melting and forming the silver
- Step 3: Forging and shaping (hammering and detailing)
- Step 4: Brazing and assembling details
- Step 5: Grinding, filling, and finishing the surface
- Step 6: Polishing and take-home readiness
- Silver Weight Rules, Stones, and Gold-Plated Options (How Not to Get Stung)
- What You Leave With (And Why Small Extras Matter)
- Who This Class Is Best For (And Who Should Skip It)
- Price and Value: Is $40 Fair for Real Silver Work?
- Should You Book This Ubud Silver Jewellery Class?
- FAQ
- How long is the silver jewelry class?
- What does the price include?
- How much silver do I get to use?
- What happens if my jewelry needs more silver than the included amount?
- Can I add gems or stones to my jewelry?
- Is there a gold-plated option?
- Do I need any prior experience?
- What languages do instructors speak?
- Where is the meeting point?
- Is cancellation free and is pay later available?
Key things I’d circle before you go
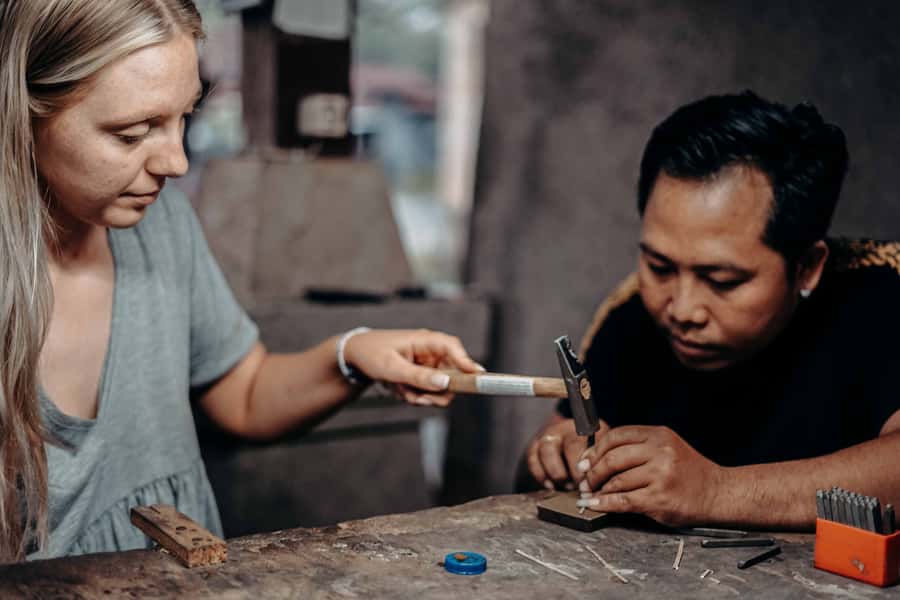
- Up to 7 grams of silver for your design, with packages that fit different budgets and ambitions
- Hands-on steps like melting, forging/hammering, brazing, grinding, and finishing
- Design picking from a large catalog of patterns so you can shape it to your taste
- Staff support when you get stuck, including patient guidance reported by repeat visitors
- Extras can add up if you want more silver, stones, or gold-plated finishes
- A quiet workshop vibe in a practical, easy-to-find location near the Bali Zoo parking area
Why Ubud Silver-Crafting Is a Different Bali Souvenir
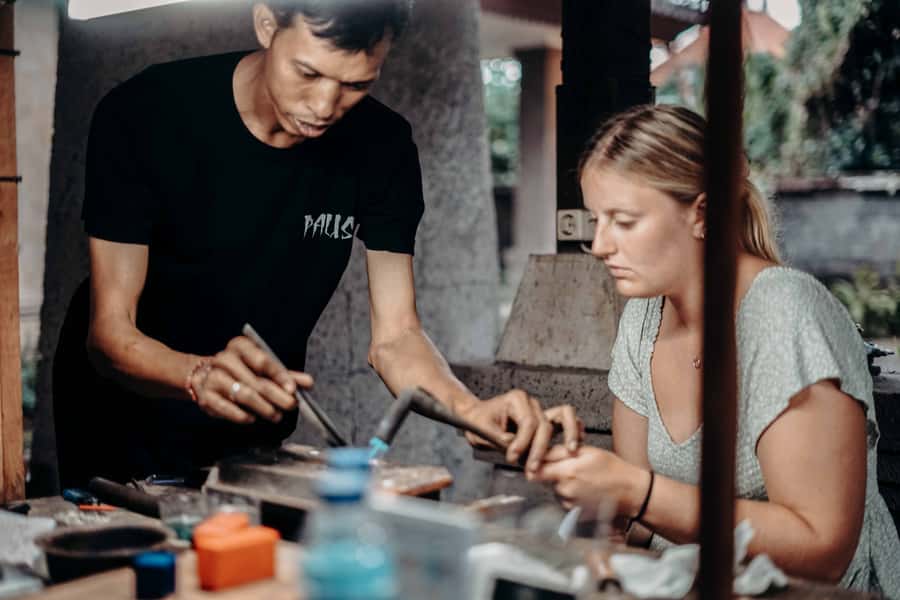
Ubud is full of classes, but jewelry-making is a special kind of souvenir. You get something you can wear on future trips, and it comes from your own hands. That alone makes the experience feel more meaningful than most activities that end with a photo and a fridge magnet.
What I like most is how directly you connect the steps. You start with tools and a catalog, then you move into the physical work: shaping metal, tightening details, and polishing so it looks finished instead of homemade. If you enjoy learning a craft you didn’t know you could do, this class tends to click fast.
The other big plus is that you’re creating something specific—ring, pendant, earrings, bracelet, or even a safety pin option—within a tight time frame. That structure matters because it keeps the day fun instead of turning into a long studio slog.
You can also read our reviews of more tours and experiences in Bali.



Getting to Krisna Yuna Gallery (Opposite Bali Zoo)
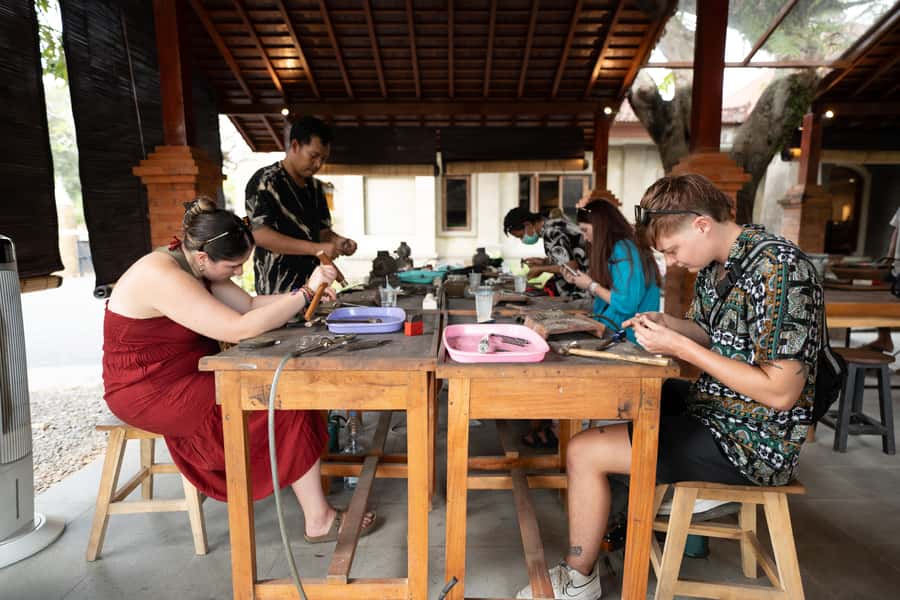
The workshop is at Krisna Yuna Gallery, located opposite the Bali Zoo parking area. This is one of those “easy enough to find once you’re there” meeting points, which is exactly what you want in Ubud when you’re squeezing in activities between temple visits and rice-terrace wandering.
On-site parking is available, so you’re not stuck guessing where to leave a scooter. And the workshop setup is practical: there’s a gallery space with lots of design options, plus a work area where you and the silversmith move through the process.
One extra detail I found helpful from past participants: the location has a quiet feel, which makes the class less chaotic than some craft stops you might run into around Bali. If you’re trying to find an indoor break on a rainy afternoon, this type of workshop is usually a safe bet.
Pick Your Design from the Gallery Catalog (Then Make It Yours)
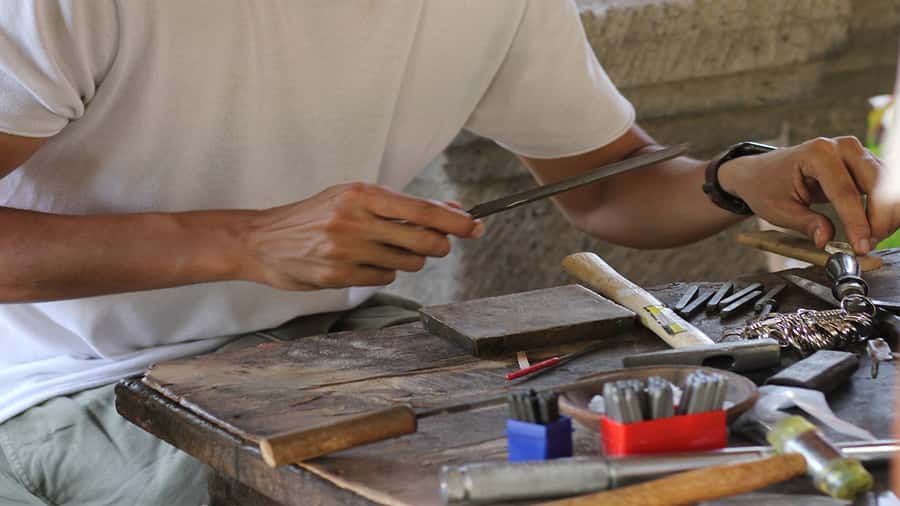
You begin with an introduction to the materials and tools, then you browse designs in a provided catalog book. The workshop also has a silver gallery with more than 1000 designs, which is a strong sign you won’t feel stuck with only a couple choices.
Here’s the practical part: you’re choosing something that can realistically be completed within the class time. Some designs need more steps and more careful work, so if you want a smoother experience, pick a style that matches your skill level and attention span.
A number of people highlight that staff are patient about design tweaks. If you want a ring that’s similar to the sample but with your own adjustments, you can often work toward that goal with help. Just remember you’ll be doing hands-on work, so choose something that you’ll still enjoy shaping by hour two.
You’ll likely see options for different jewelry types, including rings, earrings, pendants, bracelets, and safety pins—but the exact end result always depends on what’s feasible within the session length.
The 2-Hour Craft Flow: Melting, Forging, Brazing, Polishing
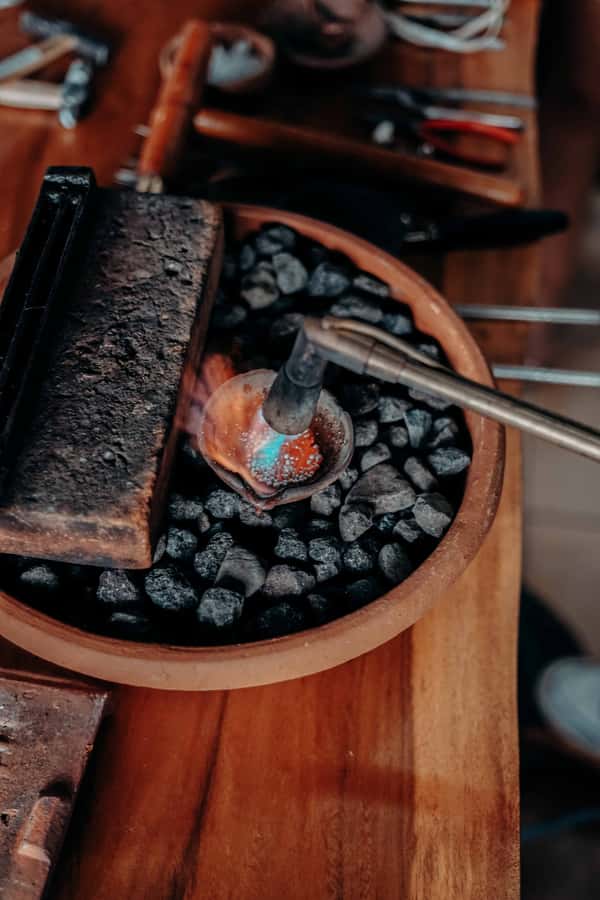
This is a short course—listed at 2 hours, with sessions described as roughly 1.5 to 3 hours depending on pacing and start times. That time pressure is real, but it’s also part of the fun. You get a full story arc in one afternoon.
Step 1: Tool and material orientation
You start by learning what you’ll be using and how it behaves. Silver work is very hands-on, so you’ll want comfortable clothing and a steady pace in your movements. Even if you’ve never done anything like this before, the class is described as beginner-friendly with no prior experience required.






Step 2: Melting and forming the silver
Then comes the core action: you’ll melt silver and move into forming it into the basis for your jewelry. This is where you stop thinking of it as a souvenir and start thinking of it as a craft process. You’ll learn how the metal changes with heat and how to handle it safely under supervision.
Step 3: Forging and shaping (hammering and detailing)
After forming, you work on getting the shape right. Reviews describe steps such as forging and hammering, plus tasks like inscribing and grinding. This is also where the silversmith’s supervision matters most, because getting the structure right affects how it will finish.
Step 4: Brazing and assembling details
The class includes brazing—basically joining parts or refining how elements sit together. If you’re picturing a simple ring blank only, the class can surprise you by being more technical than expected in a good way. It’s challenging, but staff help you through it.
Step 5: Grinding, filling, and finishing the surface
Once the shape is set, you move into smoothing and finishing. You’ll grind and refine the piece so it looks clean and wearable. Some people also mention stones/gems options as an add-on (which usually comes with extra charges), so if you want sparkle, plan for that cost and time.
Step 6: Polishing and take-home readiness
Finishing includes polishing so the piece looks like jewelry rather than raw workshop material. Many participants love this stage because it’s the moment the craft starts looking complete.
From the reviews, I also love that staff are around if you’re clumsy or unsure. People note that teachers step in so the final product still comes out impressive, even when the learning curve is steep.
Silver Weight Rules, Stones, and Gold-Plated Options (How Not to Get Stung)
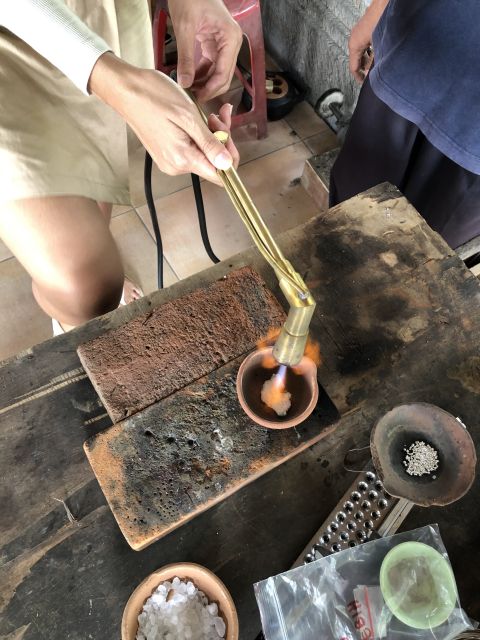
This class includes a specific amount of silver, depending on the package you choose. You’ll receive 1 piece of silver jewelry made with 3–7 grams of high-quality silver, and the class setup also references packages like 5 g or 7 g.
Here’s what you need to keep straight:
- If you go over the included weight, there is an additional fee.
- The information provided mentions different figures: an extra 100,000 IDR for excess silver depending on the package you choose, and also 75,000 IDR per gram for weight over the limit (including language that if it exceeds 7 grams you’ll be charged per extra gram).
Because these fee details can be easy to misread, I strongly recommend you confirm the exact rate with the studio when you arrive and before you start adding details that might push your silver usage.
Other potential add-ons:
- Gems/stones cost extra beyond the base class.
- A gold-plated option has an additional charge.
Also worth noting: it is not possible to share silver with another person. If you’re going as a group and want to combine silver to make one “bigger” piece, you won’t be able to do that here. Plan each person’s project independently.
Finally, the class says you can make a personalized piece up to the included weight, and if your design is below the package weight, pricing still follows the package you selected (5 g or 7 g). So you don’t need to force the piece to the maximum weight, but you do need to keep your design within the included limit.
What You Leave With (And Why Small Extras Matter)
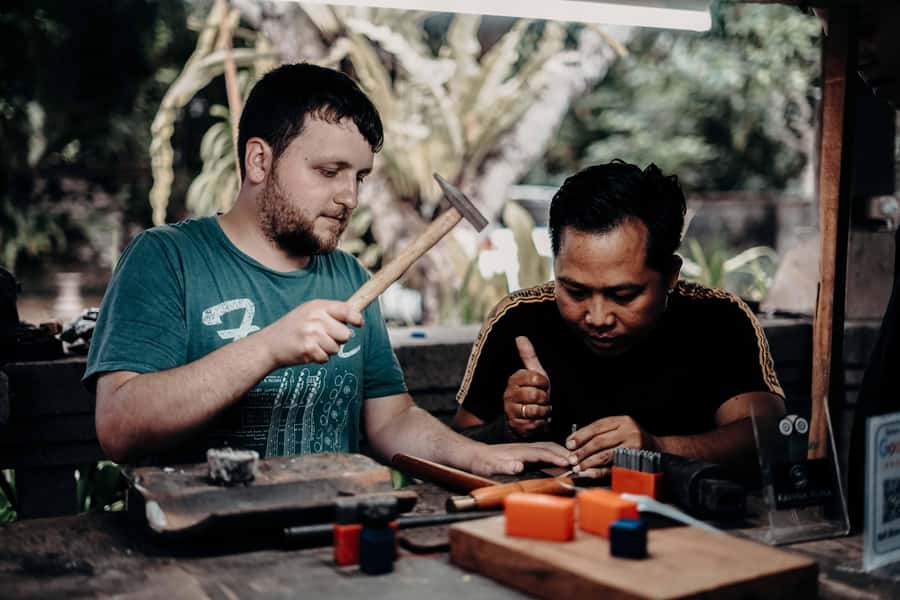
You take home a finished piece of silver jewelry. That alone is the main value driver for most people. The class includes the necessary materials and tools, plus a finished product you can wear, gift, or keep as a memory.
A few added perks show up repeatedly in accounts from past participants:
- Snacks and mineral water are included.
- Wi-Fi is available on-site.
- Several people report that staff will clean and polish existing silver jewelry they brought along, even if the workshop project they made was smaller or simpler.
- People also mention that staff take photos and videos, which helps you document the process without scrambling for your camera the whole time.
Guide names you might hear in these experiences include Cito, Darma, Made, Komang, and Rati. If you get one of these instructors, take advantage of their pacing and patience cues. Multiple people explicitly praised how teachers walked them through each stage and corrected issues without making it stressful.
If you want your jewelry finished and shiny, the polishing steps matter. And in reviews, the result is repeatedly described as impressive, even for first-timers.
Who This Class Is Best For (And Who Should Skip It)
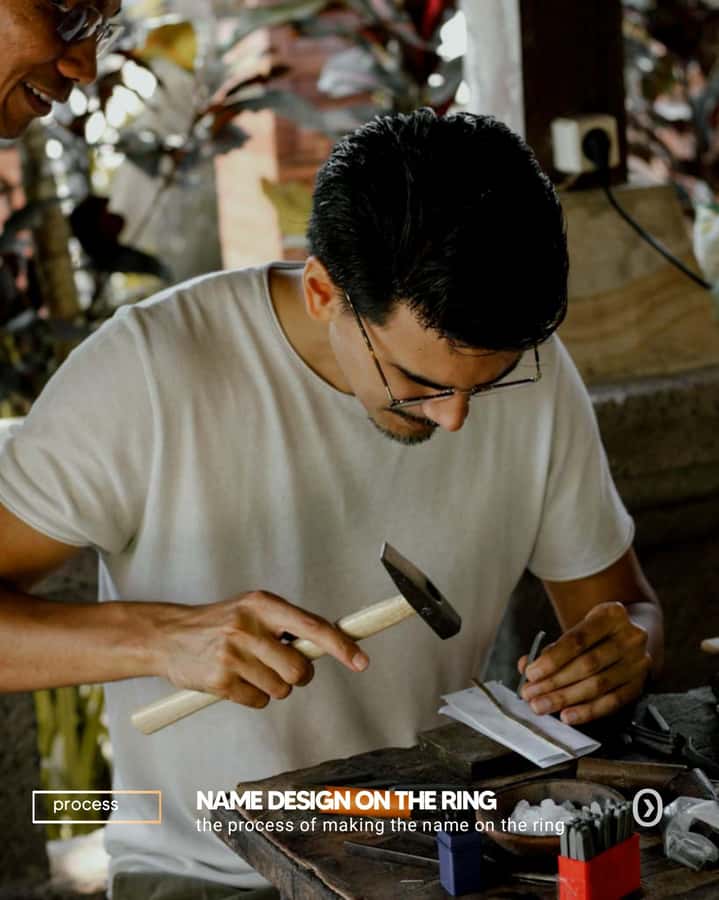
This workshop is described as suitable for participants of all skill levels. No prior experience is required, and the class includes instruction from silversmiths with English, Indonesian, and Malay support.
It’s a strong fit if:
- you want a hands-on craft rather than a passive tour
- you like making something tangible in a short time
- you want a personalized souvenir tied to Bali, not just something mass-produced
What to bring mindset-wise: expect it to be fun and challenging. Some people were surprised by how much careful work the steps require, and that’s normal. If you go in expecting to stroll through it, you might feel rushed. If you go in ready to focus for two hours, you’ll likely enjoy it a lot.
Who should skip:
- The class is not suitable for children under 7.
- If you don’t care about creating something yourself (and only want a quick photo), this might feel like work instead of an outing.
Clothing tip: wear comfortable clothes suitable for crafting. You’ll be working with metal processes, so dress in a way that’s easy to move in and won’t worry you if you get a little workshop residue.
Price and Value: Is $40 Fair for Real Silver Work?
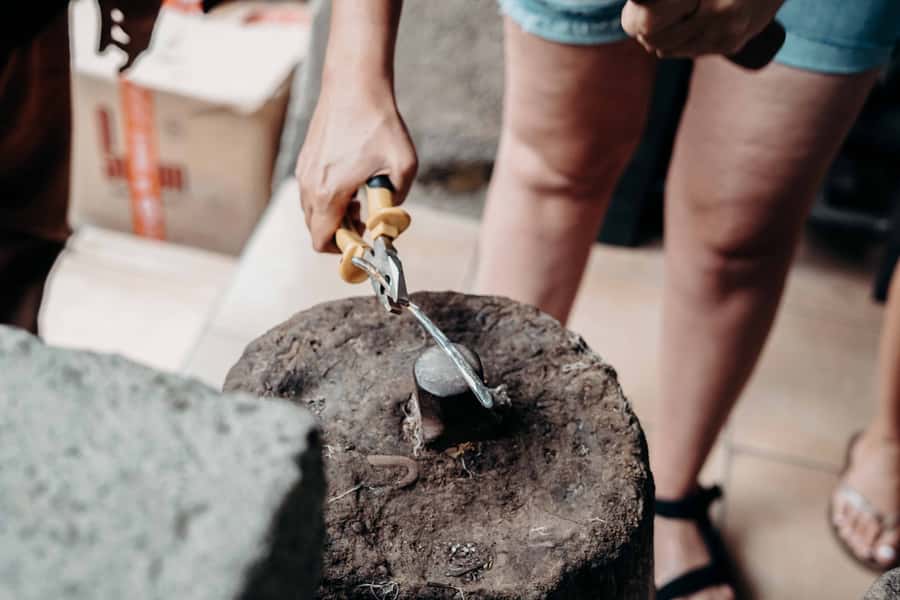
At $40 per person for a class that typically runs about two hours, value comes from what’s included, not just the price tag.
You get:
- a take-home jewelry piece made with a specified amount of silver
- personalized instruction from the silversmith
- all materials and tools
- snacks, mineral water, and Wi-Fi
Compared to paying for a finished souvenir, the value here is that you’re buying two things: the silver and the learning experience. If you’re going to spend money anyway on a ring or pendant, a class like this can feel less like shopping and more like creating.
The catch is extras. If you want stones, gold plating, or more silver than the included package allows, costs can rise. But you control that by choosing a design that stays within the weight you paid for. If you treat it like a “make what fits” class, $40 can feel like a solid bargain for what you walk away with.
In short: it’s best value if you want wearable silver you made yourself, and you’re okay with a short, focused workshop afternoon.
Should You Book This Ubud Silver Jewellery Class?
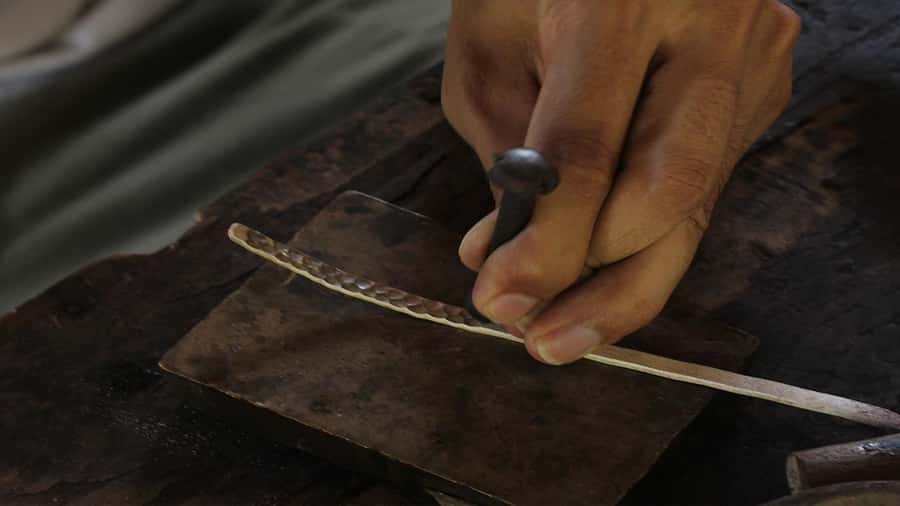
If your goal is an authentic, hands-on Bali activity with a take-home piece, I’d book it. This isn’t just watching craft work; you’re doing the steps under guidance, and people repeatedly mention patient instruction and impressive results for beginners.
Book it if:
- you want a souvenir with real personal effort behind it
- you’re visiting Ubud and want something that works well even when the weather doesn’t cooperate
- you enjoy learning by doing (especially if you like making rings and small wearable items)
Skip it or think twice if:
- you hate structured time limits and might feel uncomfortable with a class that expects you to finish within a couple hours
- you plan to heavily exceed the included silver weight or add multiple extras without checking the final cost
If you do book, one simple move increases your odds of a great outcome: arrive ready to choose a design you can complete within the session and ask staff to confirm what will happen if your silver use pushes past the included grams.
FAQ
How long is the silver jewelry class?
The class is listed at 2 hours, with start times that can run about 1.5 to 3 hours depending on the session.
What does the price include?
It includes 1 piece of silver jewelry made with 3–7 grams of high-quality silver (depending on the package), instruction from the silversmith, all materials and tools, the finished piece to take home, snacks, mineral water, and Wi-Fi.
How much silver do I get to use?
You’ll receive silver based on the package you choose, and you can make a piece using up to the included weight (packages referenced as 5 g or 7 g). The class also describes 3–7 grams of silver included overall.
What happens if my jewelry needs more silver than the included amount?
There is an additional fee for excess silver. The details provided mention an extra 100,000 IDR for excess silver depending on the package, and also mention 75,000 IDR per extra gram if your piece goes over the limit.
Can I add gems or stones to my jewelry?
Yes, you can add stones, but it’s not included in the base price. There is an additional charge for adding gems/stones.
Is there a gold-plated option?
Yes, a gold-plated option is available, and it has an additional charge.
Do I need any prior experience?
No prior experience is required. The class is described as suitable for all skill levels.
What languages do instructors speak?
Instruction is available in English, Indonesian, and Malay.
Where is the meeting point?
The class is held at Krisna Yuna Gallery, located opposite the Bali Zoo parking area. On-site parking is available.
Is cancellation free and is pay later available?
Free cancellation is available up to 24 hours in advance for a full refund, and you can reserve now & pay later (book first, pay nothing today).